Omnipeek filters window
To open the Omnipeek Filters window, do one of the following:
• Click in the main program window toolbar
• On the menu, click
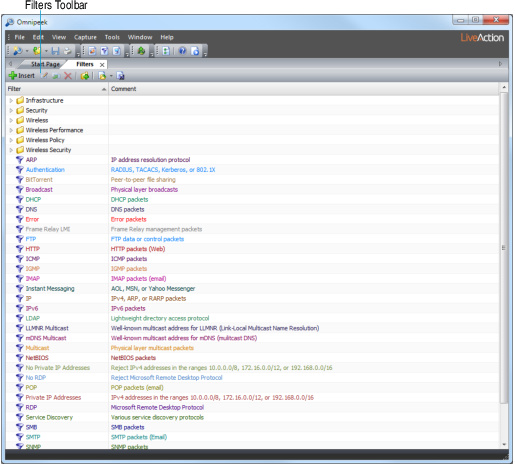
The clickable buttons in the filters toolbar are described below:
• Insert: Click to create a new simple or advanced filter.
• Edit: Click to make to changes to the selected filter.
• Duplicate: Click to make a copy of the selected filter. This is useful when you want to use an existing filter as a starting point for more modifications.
• Delete: Click to delete the selected filter.
• Add Group: Click to open the Add Group dialog in which you can create a new group folder. You can drag filters into and out of group folders. Grouping filters with similar functions can help organize a large filter set.
• Import: Click to import filters from a filter file with an *.flt extension. The Import function can be useful as a backup tool or to help transfer filters from one machine to another.
• Export: Click to save all filters, or a set of selected filters to a filter file with an *.flt extension. The Export function can be useful as a backup tool or to help transfer filters from one machine to another.